Diagonal Light-Up Board
Select any node to complete the circuit and discover its diagonals.
DIY Cardboard Setup Guide
Want to build this physically for your exhibition? Here is how to construct the real-life board using cardboard, copper tape, and LEDs.
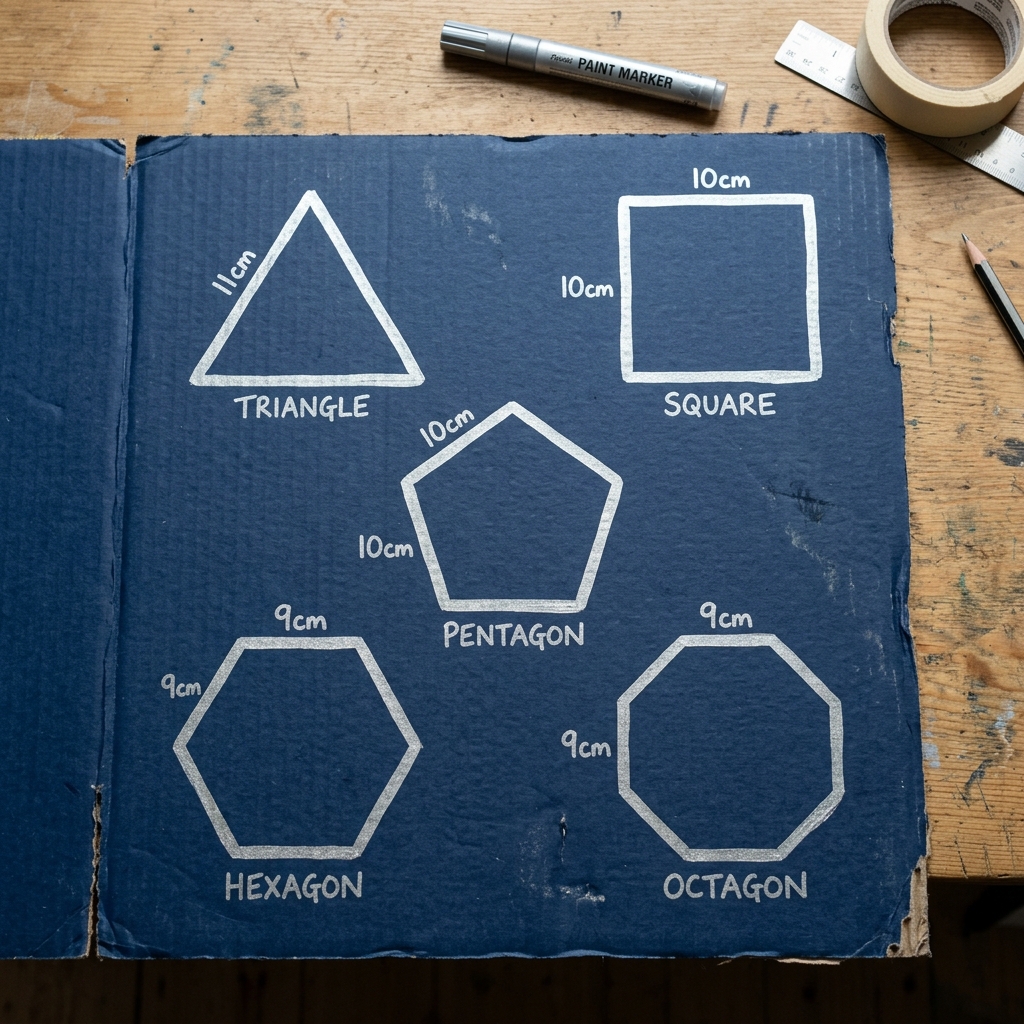
The Base & Shapes
Cut a sturdy piece of cardboard and paint it dark blue or black. Draw the five polygons (Triangle to Octagon) using a silver marker.
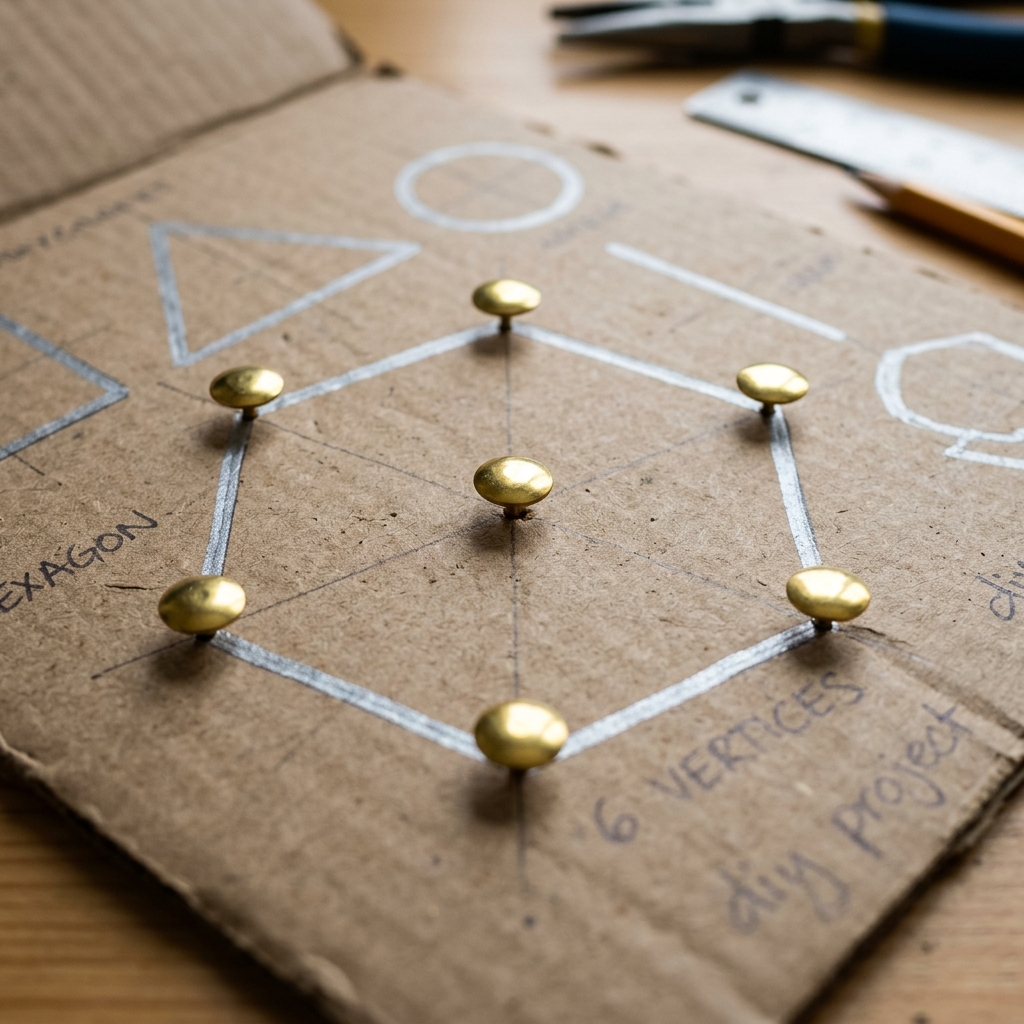
Placing the Nodes
Push conductive brass fasteners (or metal thumbtacks) into every corner (vertex) of the polygons. These act as your circuit nodes.
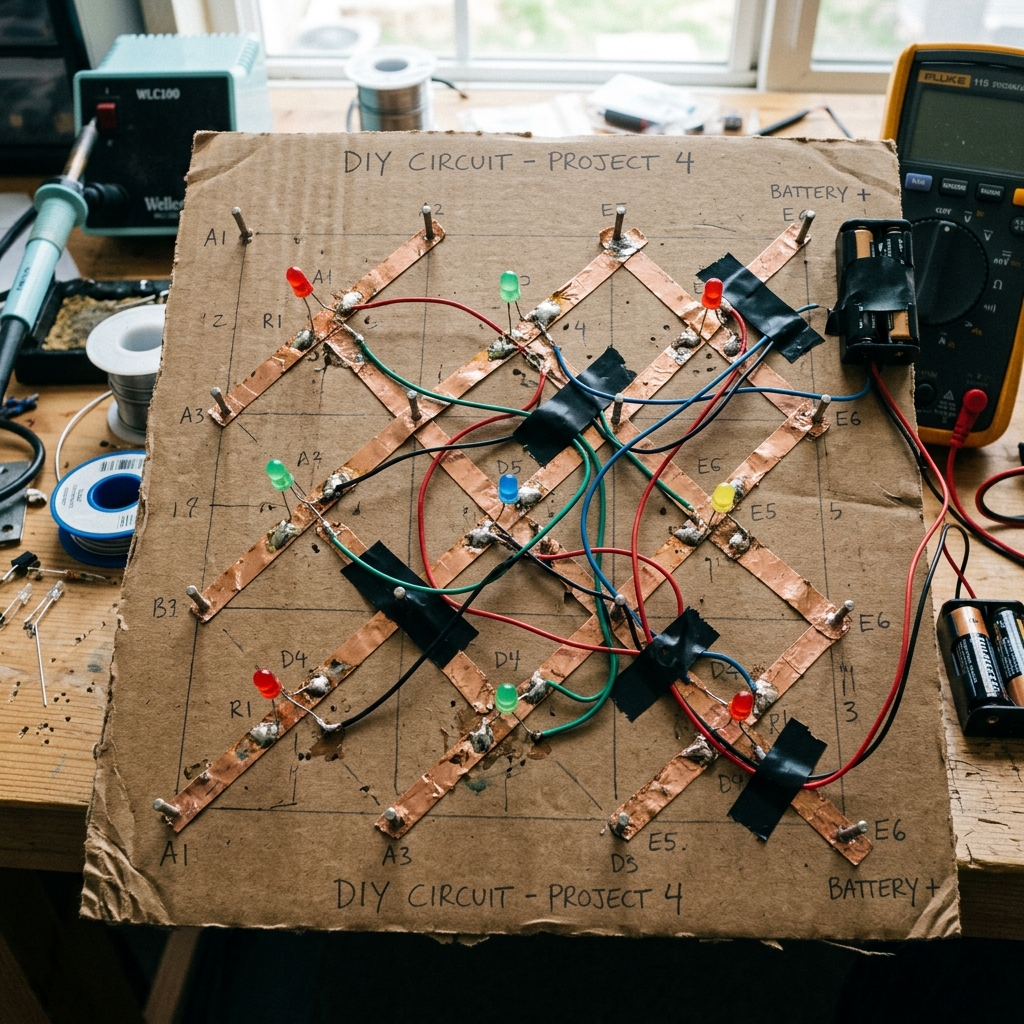
Wiring the Diagonals
On the back, connect the fasteners using copper tape and LEDs. Crucial: Only connect a vertex to non-adjacent vertices (the n-3 rule!).
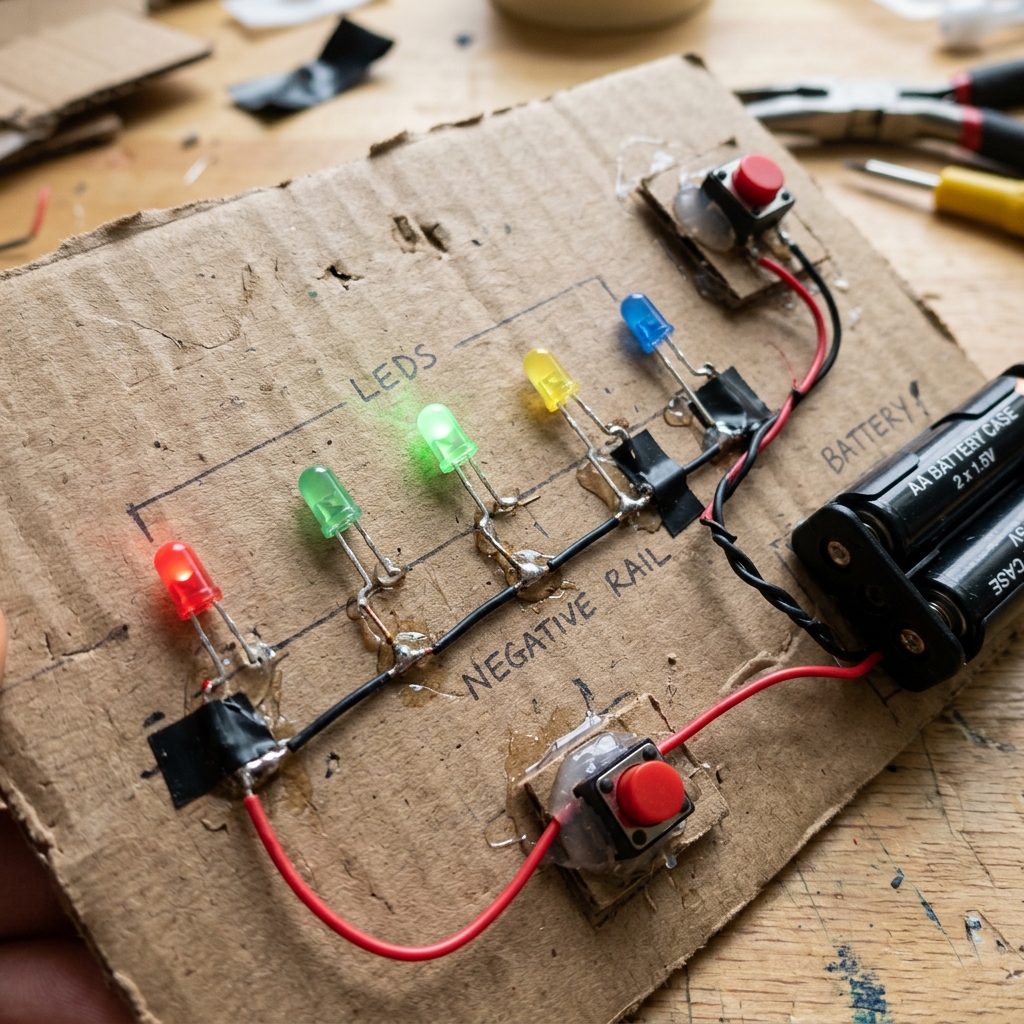
Common Ground
Connect the negative (short) leg of all LEDs to a single common ground wire on the back, connected to a battery pack's negative terminal.
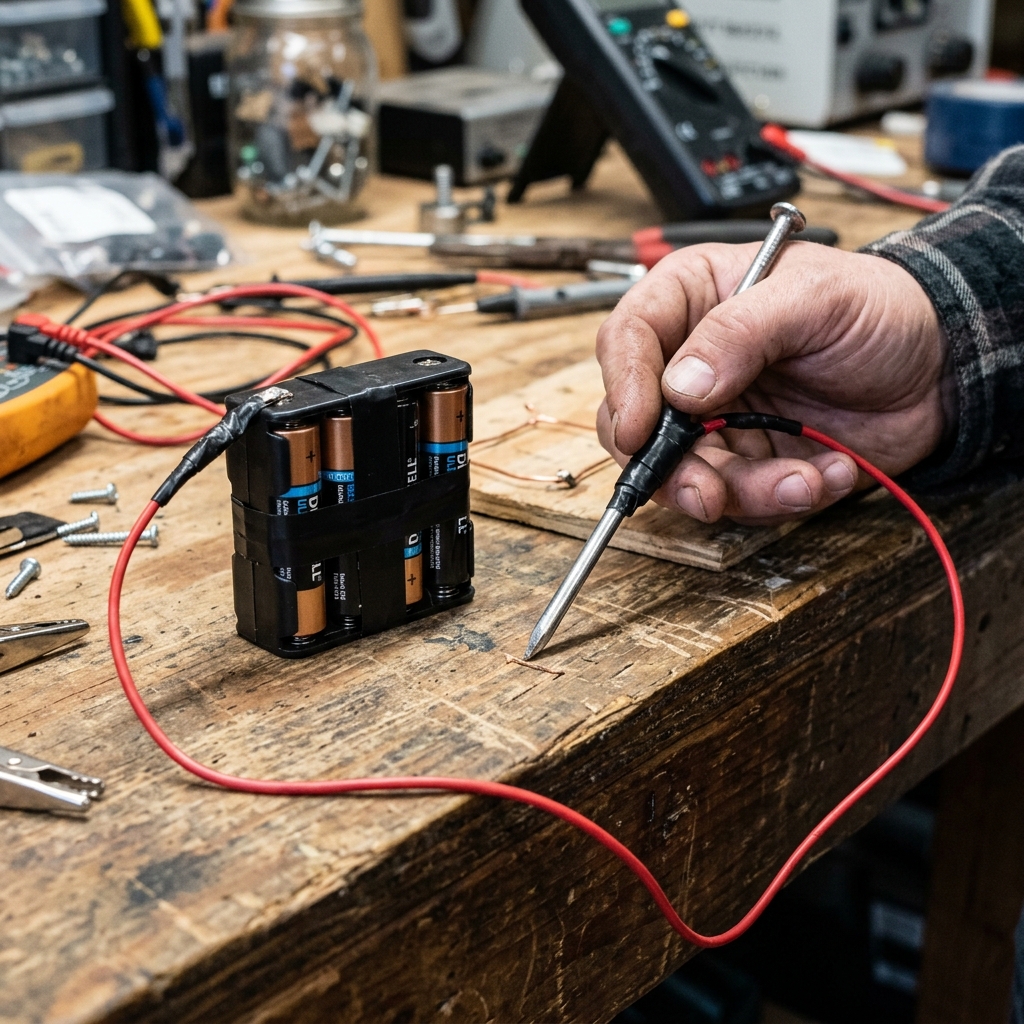
The Probe
Attach a loose wire to the positive terminal of the battery pack. Attach a metal probe (like a large nail or stylus) to the end of this wire.
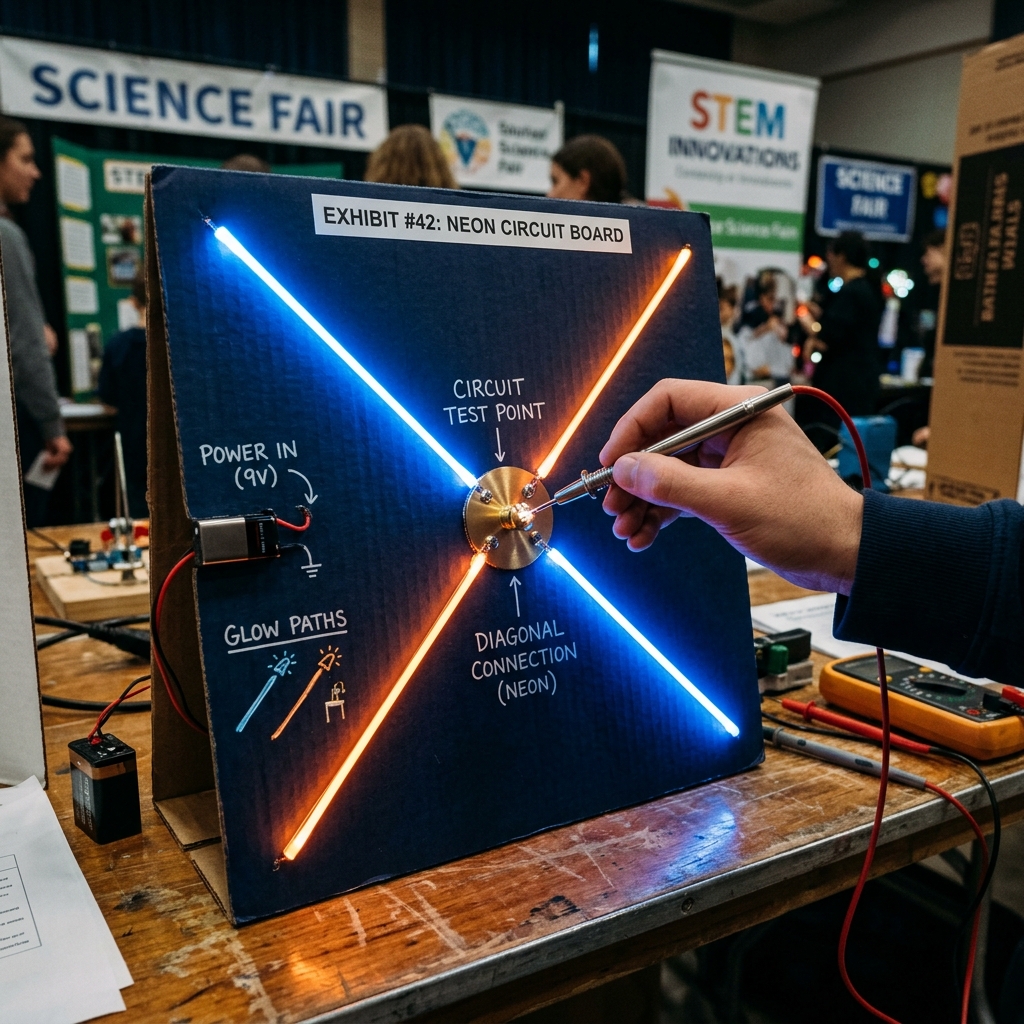
Complete the Circuit
Touch the probe to any fastener on the front. Power flows through the specific diagonal LEDs connected to that node, proving the formula!